
Dust is unavoidable. It’s unavoidable, and all you can do now is accept the fact that it’ll get on your lens. Other dirt or substances, such as oils from your fingers, the elements, food, or anything else you pick up while outside. It may, of course, end up on your gear as well. Here are some easy-to-follow methods or steps on how to clean a camera lens at home.

Certain dust particles or smudges on the front lens can be harmless and even unnoticed in your image. But dust on the back or oil can stand out much more on either side. You need to clean your camera lens, not because of an arbitrary schedule.
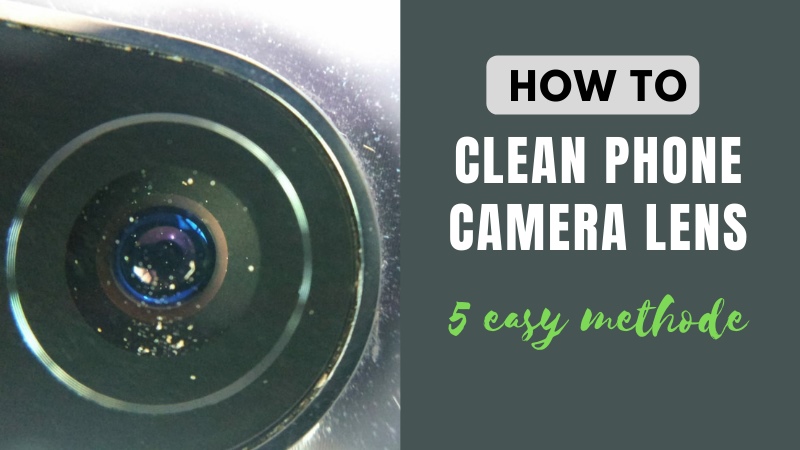
The quality of your images is influenced by the cleanliness of your camera lens. It’s as easy as that. But, if you’re cleaning your lenses too much or too often, you risk scratching them. This article will cover how to clean camera lenses in a nutshell. Let’s get started.
How To Clean Camera Lens At Home
Important Equipment For Cleaning Camera Lens:
1. Blower
2. Duster
3. Lens Cleaning Fluid
4. Disposable Wipes or Tissue Paper
5. Microfiber Clothes
6. Camera Lens Cleaning Kit
Methode 1: Use a Blower
When it comes to cleaning dust or smudges off a camera lens, using a blower should always be the first option. Because it is the least likely to exacerbate the problem. If your lens is dirty, a quick puff from the blower maybe you will need to clean it.
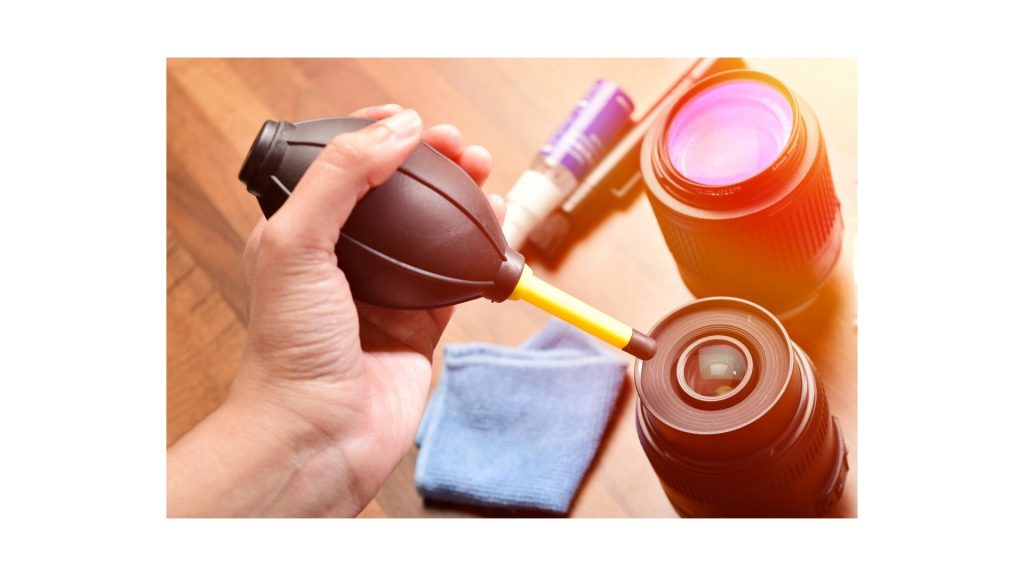
Although it may seem natural to just use your breath. You should avoid doing so. Because no matter how careful you are. Don’t use your breath. because it can bring saliva and condensation into the lens.
Don’t forget to buy a large air duster or air blower.
Methode 2: Cleaning Camera Lens By Using Air Brush
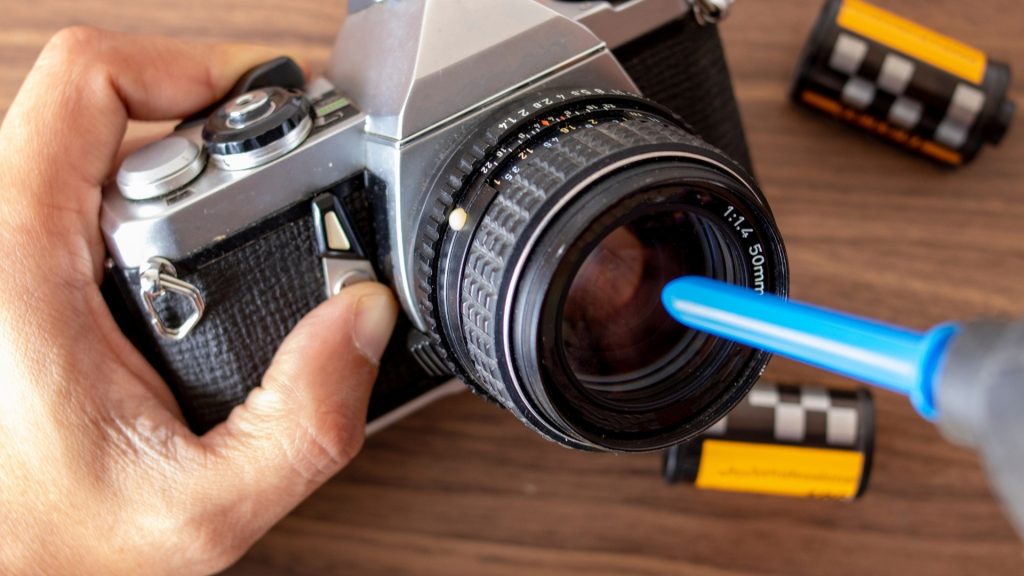
If a blower doesn’t do the job, an airbrush will be the next option for cleaning the lens. Soft hair can be a good option because brush tips consist of different materials. So, camel hair will be a good option for this because camel hair is too soft.
The biggest reason that brushes are riskier than a blower. Don’t touch the lens with your fingers. Because your fingerprints may consist of various materials. Because they can collect substances if you don’t care. Do not touch your fingers to prevent transferring of oils. And ensure that your brush remains capped or bagged to remain clean. Oils can be harder to remove from lenses, but they are even harder to remove from your brush.
Methode 3: Use Lens Cleaning Fluid
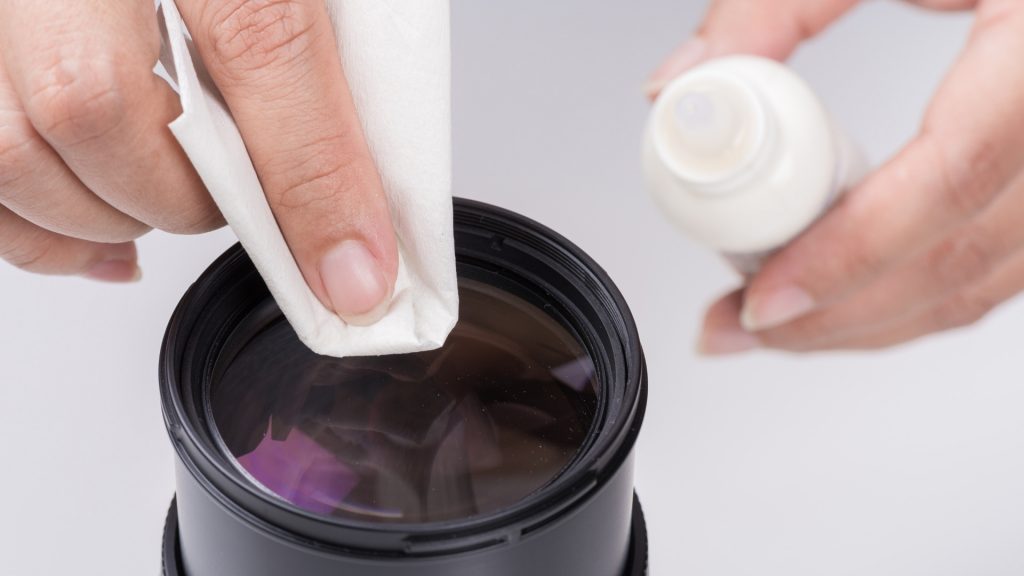
A spray bottle of cleaning fluid is the most powerful (and messy) lens cleaning option. These are alcohol-based cleaners, like moisturized wipes. These are capable of cleaning your lens surface without streaks. These can also evaporate to protect your equipment.
Cleaning fluid bottles come in 1 ounce, 2 ounces, and 3-ounce sizes, with prices ranging from 6$ to 10$ per bottle. You also can use lens tissues or microfiber cloths together. But if you use facial tissue or anything, it can cause your camera lens scratches.
Never spray directly onto the camera lens surface because it can get into the lens. But don’t use alcohol directly. Use some water to mix alcohol and also ignore cleaning fluid that’s mostly detergent and water.
Methode 4: Wipes or Tissue Paper

Wash your lenses with lens cleaning paper tissues is a safe and inexpensive option. The cost of each tissue sheet is approximately $0.05. Because you can only use them once and then throw them away. You can always start cleaning with a dust- and contaminant-free sheet.
They’re a little more difficult to keep clean than tissues. One disadvantage is that any oil or grime that you remove from the lens stays on the cloth. Reusing a cloth also increases the risk of trapping something in it and dragging it across your lens, scratching it. To avoid further contamination, store them in a plastic bag between uses.
Methode 5: Cleaning Camera Lens By Using Microfiber Clothes
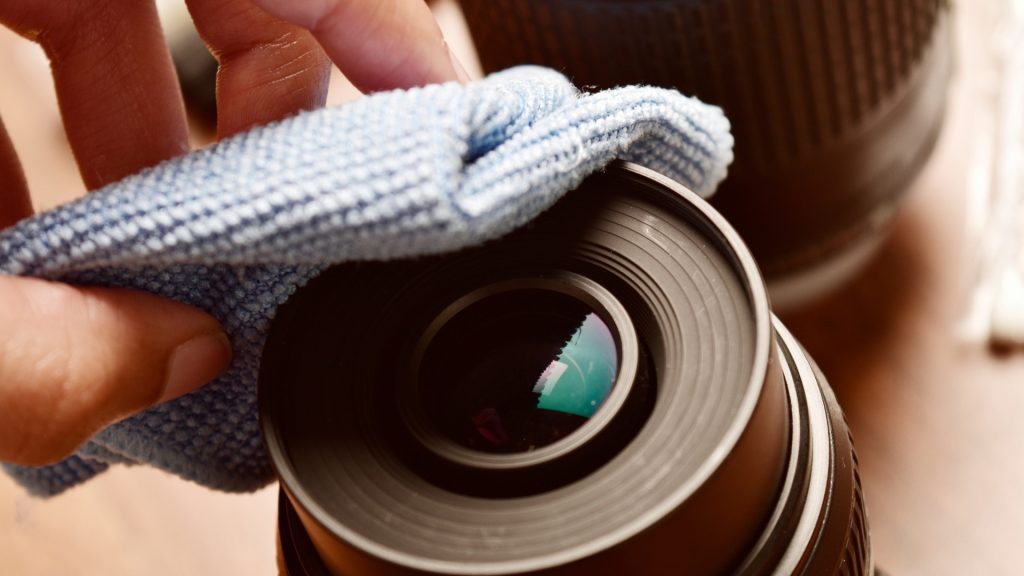
Washcloths made of microfiber are also popular. A few precautions should be taken to ensure that they are used to their full potential. Keep them clean. Because you’ll be using them for multiple cleanings and don’t want to re-apply dirt, grime, or particles that could scratch your lens. When washing the cloth, avoid using liquid fabric softeners. Because they can leave a chemical residue on the cloth and cause streaks on your lens.
Smudges can be easily removed with microfiber lens cleaning cloths. The average cost of these clothes is $2-4 per cloth, but depending on the brand, they can cost as much as $10. Microfiber cloths are more expensive than lens tissues. Because they are designed to last a long time before you throw or clean those.
At your own risk, wear your cotton T-shirt. Again, if the lens does not need cleaning then do not clear it. But if you are separated from the lens cleaner and have to remove a cleaner, it is not the end of the world using a clean 100 percent cotton T-shirt and warm breath. Again, avoid softening liquid fabric. With dedicated lens-cleaning tissues and clothes, you find better (and safer) results.
You have a smartphone and your smartphone lens is close to the camera lens. But your smartphone lens isn’t clean. So, you want to clean the camera lens. The process is the same.
How to Avoid Dust?
- Glass is a tough and long-lasting material. When companies apply too many advanced coatings and chemicals to the lens. Yet it becomes a more vulnerable surface to scratches and chemical and contact damage. As a result, you should also keep your lenses and filters free of fingerprints and debris. You should also avoid prolonged physical contact, which involves touching and, yes, washing.
- Front and rear lens caps should be used judiciously when stored in your camera bag or on a shelf to keep your optics clean. However, when you use your equipment, it will become dirty. It is impossible to avoid this situation. Cleaning the insides of your camera bag regularly will benefit your lenses. As dust and dirt will most likely find a home inside your bag and attach themselves to the lens.
- Image quality will be impacted the most by oily fingerprints and smudges on the rear element. Due to the narrow light focus on the back of the lens. The good news is that dirt and oil have less of an impact on the lens’s rear element. Because it isn’t subjected to sticky fingers from children, your sticky fingers, or other environmental hazards when mounted on the camera.
How to do Perform a Dirt Test on a Camera Lens?
If you look for signs of dirt on your lenses, you’ll know they’re due for a cleaning. The procedures are given below.
1. Make sure the focus is set to infinity.
Set your camera to Manual mode to be able to adjust the focus. Then move the focus ring to infinity. You’ll be able to see dust specks in the viewfinder as a result of doing so.
2. Take a picture of a flat surface.
Look for a flat surface and photograph it. A two-shot method will yield more accurate results. Take photos of both light-colored and dark-colored surfaces so that dust particles can be easily identified.
3. Take a look at some of the recent photographs you’ve taken.
Zoom in on each image while your camera is in Playback mode. Examine the images carefully for any hazy spots or dust particles. If you notice dirt on your DSLR lens, it’s time to clean it.
4. Examine your DSLR lens for any other signs of dirt.
Check your lens for dust and smudges on the back element. Molds should also be checked inside the lens. If molds are present, it is safer to have your lens cleaned by a qualified camera cleaning technician rather than attempting to remove the molds yourself.
Clear Your Camera Lens After Photoshoot
Remember that your equipment will get dirty from time to time. But if you obsess over every speck of dust, you may end up causing more damage than was originally present.
Because your camera lens is so delicate, only clean it if necessary. You can use the same procedure to clean the back lens, lens caps, and filters.
When you finish your task or photoshoot, don’t forget to clean your camera lens. If you don’t clean, your camera may be dirty or there can be scratches or dust onto the lens. So, it’s very important to clean the camera after coming from outside and photoshoot.

Pingback: How To Fix Scratched Camera Lens? [A Special Solution!]