In this modern age, a webcam is one of the most useful gadgets. If you’re passionate about live streaming or vlogging, it will be one of your top priorities. A webcam can easily be carriable to use if you’re a Youtuber or vlogger.
If you already have a camcorder or video camera set up, all you have to do is plug it in and play. But it’s not so easy to turn your camcorder into a webcam. After reading this article you will know how to use a camcorder as a webcam.
Nowadays, the webcam has not cheap price. But if you have 100 dollars or more, you can get the finest qualities. The cost of the webcam is between 140$ and 190$ which can give better quality. But I can give you a lot of alternative solutions if you can’t afford this option.
Having a fully functional camcorder will be very helpful for you and you can turn your camcorder into a webcam.
Important Equipment That You Need
You will need the following equipment to use your camcorder as a webcam:
- A Camcorder
- Lens
- Cable
- Capture Device
- Tripod or Stand
- Webcam Software
- Microphone
- Extra Light & Extra Battery
- AC Adaptor
1. Camcorder or Camera
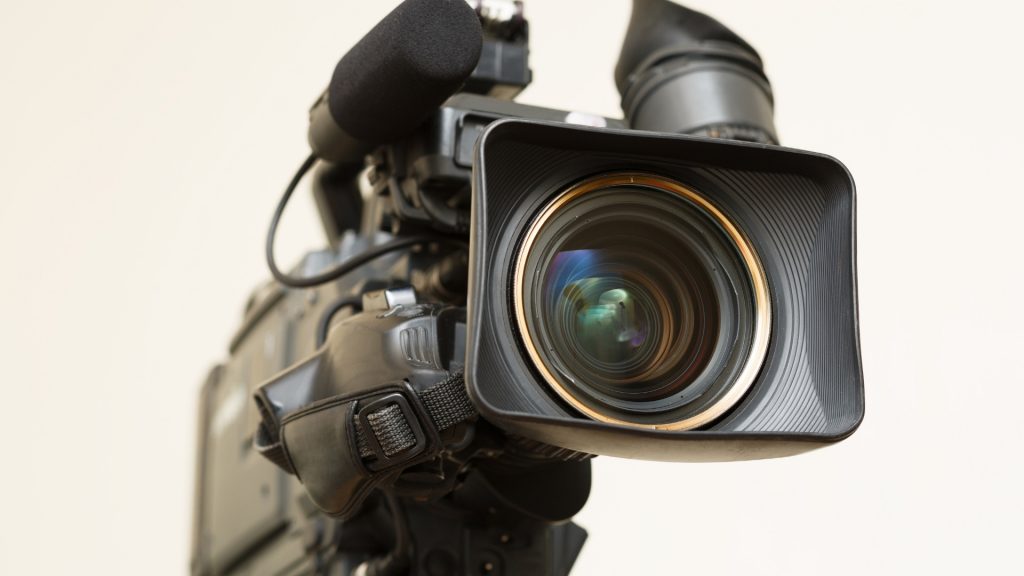
In order to begin, you must have an HDMI-capable device. When you will make your camcorder into a webcam, you must have a camera or camcorder.
For all-around use, a digital SLR, camcorder, or action cam will serve you better. Even the lowest-end DSLRs have video modes, plus HDMI out, simplified controls, and a streamlined interface as well. A high-end model like the Sony RX100 may work, but it is more likely to have quirky performance when used as a webcam.
2. Lens
Digital SLR users can use an 18 to 24mm zoom lens. You can earn bonus points for giving the focus ring a rotary control. If you bought your camcorder as a kit, you may already have a lens that matches these specifications.
Also, be advised that action camcorders and point-and-shoot camcorders are both equipped with optical zoom lenses.
3. Cable
Only make the following changes if you have a FireWire camcorder:
A Firewire card is an adapter that allows the attachment of additional media-intensive devices to a computer without using any proprietary connection.
The kind of video cable used in the FireWire port on Apple Macs is FireWire, and on Windows is USB, depending on the operating system you’re using.
If you are shooting on an analog camcorder, below are the requirements are that you must follow:
Creative capture USB or HDMI
For video cameras, which are easy to use as video recorders, you can only need this:
Connect to USB or HDMI for better sound, cable for better image quality.
4. Capture Device
This device is available in external USB and PCIe variations and allows your computer to connect to your webcam.
5. Tripod or Stand
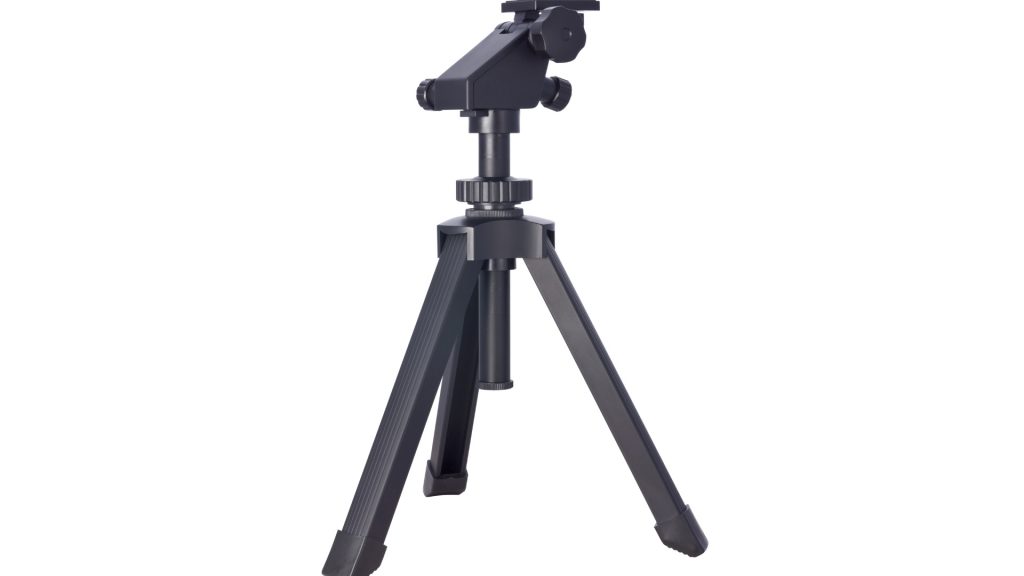
Identify where your HDMI output port is so you can tell what it does. Before you decide between a stack of books and a proper tripod, you can figure out where it is. First, decide where the AC adapter will fit into the wall.
It is nice when a collection of books or boxes can be piled on top of a flat surface. You should include a tripod head that contains a ball head adapter if you want to put your equipment lower on the camcorder’s base to leave extra space for cables coming from the back.
With cameras that are over 5 years old, you will find yourself in an unenviable, highly problematical position; using imagination as the only way out.
6. Webcam Software
A camcorder will need applications to use all kinds of camcorders. The software found on the internet also has these programs included at no charge. But, if you wish to use extra functionality, you would have to pay more money for the app. This usually costs under $50.
7. Microphone
Built-in audio normally doesn’t work well in a digital camera or camcorder. It’s better to play with audio to see if your chats are loud enough to be heard over the onboard speakers.
If you don’t want to spend it, you don’t need something fancy. Many of the earphones come with an in-ear microphone. It is also likely that you already have a gaming headset in your hands. The tone of your machine can be improved by using one of these plugs.
8. Extra Light & Extra Battery (Optional)
The most attractive view is to a window providing natural light. Even if you cannot do so, your face must obtain enough light to appear clearly on video. You don’t have to pay a great deal of money to produce great content (or possibly anything at all). although light-emitting solutions exist, it’s still possible to use a standard desk lamp to correct the balance of the light sources in your workspace Insert a whiter bulb to give more flattering light.
Running your digital camera or camcorder’s battery capacity would make it decent for days loaded with long phone calls (and allow you to charge one while the other one is in use).
9. AC Adaptor
Once you’ve used AC for a long time, you don’t have to think about your digital SLR battery power supply running out. continuous-use chargers should be standard for camcorders, action cams, and point-cams. The idea of plopping the system on a pile of books or magazines doesn’t fit with AC adapters.
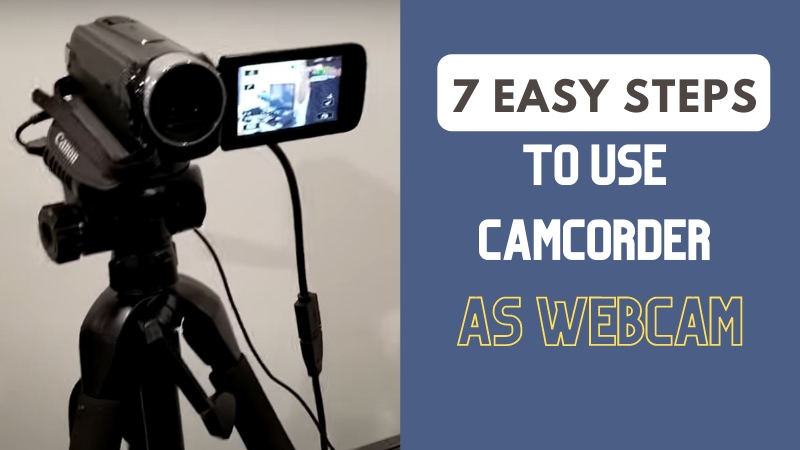
7 Simple Steps to Use a Camcorder as a Webcam
Step 1: Determine the Type of Camcorder & Install Capture Device
The first thing you would need to discover is the precise nature of your camcorder, and only camcorders can have answers to your questions. Proceeding to the next step after learning the crucial information and specifics about the equipment, you are ready to get everything else you may need.
Only plug the unit into a USB-based item into a USB port on your PC. Our first option is to get the most up-to-date technology. But if you’re considering a USB 3.0 socket, you can choose one with USB 3.0 rather than USB 2.0.
If you are using an internal capture card, pick an available PCIe slot on your machine and install it there. Look at your motherboard’s manual to see what kind of interface you have (e.g. x1, x4, x16, etc.) This is a simple fix since you just need to find a longer card of the same shape to mount the one sent.
Step 2: Prep your Camcorder & Attach Your Battery
Finally, make sure the camcorder is recharging is completely complete. Notice that using a camcorder battery as the key power source, though, can be avoided. Until starting work, camcorders could only operate for a maximum of five minutes.
Any camcorders have a power-saving feature that disables itself when batteries are used. The tape drive will need to be plugged into the camcorder’s power adapter to work thus, you’ll need to connect the camcorder to an AC outlet or the battery will need the tape adapter to be powered.
Ensure that the camcorder still is working correctly until it is attached. If you have time, try out the theory.
For digital SLR cameras, be sure the lens is also mounted.
Step 3: Connect your Device to Your Computer’s Hard Disk
If the camcorder is configured and ready to record, you can mount and attach the firewire or video capture card to the hard disk of your device. Bear in mind that these cards are critical because they are responsible for transmitting video output from the display to the computer’s processor.
Firstly, connect the HDMI adapter to the camera’s or camcorder’s micro or mini HDMI connector, and then to the adapter with a normal HDMI cable. Then, connect the HDMI cable to the capture system on the other end.
Connect the camcorder and capture system using the specialized HDMI cable.
Step 4: Installing Software
It’s an important part making camcorder as webcam.
After connecting all the cables and wires, you will now be able to access the webcam program Which you have already downloaded or purchased.
It is generally possible to follow each different program’s installation process.
Step 5: Setup Your Camcorder or Camera
Often, the digital camera or camcorder can reflect a great deal of information on the LCD or screen such as ISO, aperture, focus, and exposure automatically. Additionally, it also displays a target box whenever a face is seen.
Capture devices capture the same output, but you have to clear the video on the camera or camcorder’s built-in screen. You will want to find some of these other features as well:
Display Button:
Rotate this control to see several view options, each of which takes a slightly different look at different camcorder settings. You want a screen with no additional features.
Menu Button:
For most of the following options, make sure you have the “Movie” selected.
Make high-quality work that is suitable to display on-screen, print, or transmit (720p, 1080p, or even 4K depending on your home internet upload speeds and the type of capture device you bought).
Keyframes can be output at either 30 frames per second or 60 frames per second. The webcams run at 30 frames per second for most people. Similarly, if your camera doesn’t have 30 frames per second, 24 frames fit just as well.
Focus boxes can be turned off.
No one is going to force you to do it; it’s entirely up to you whether you want to or not. Use manual focus instead of autofocus. Use manual focus only if your lens is manual-focusing capable.
Optional: When shooting in automatic, set the ISO and aperture to manual.
Step 6: Exact Position of Stand or Tripod
Find a position where the camera is level with the eyes, as it should be. A bookcase or stack of boxes would be enough to build a tripod. You can make a miniature tripod, but they’re less effective. Not only is it flat, but it also provides an open path for the cord so that the camera is steady.
Precautions: When building shelves, try to build them sturdy and firm before securing the equipment.
Step 7: Connect Your Microphone & Set your Device for Chat
It doesn’t sound perfect onboard audio for a digital camera or camcorder so that the alternative feedback sounds clearer. Connect the right 3,5mm jack(s) or USB port to your device with your earbuds, headset, or microphone. You can need to click on some OS dialog boxes in Windows to check what you just plugged in.
If you’re ready for video messaging in services like Skype, Hangouts, or Zoom, you’re done. Make sure your computer is configured to use the video input and output devices and then open the desktop or web app.
You can make a screenshot inside the audio settings in-application.
One of the many useful features in the Zoom: There will be a slight difference in the ways that desktop and web versions of these software programs interact with their users but the same fundamental features will remain the same.
Connect Your Microphone Properly
Select Sound, and Display, and then choose the Audio & Video options. Then choose the Ports & Outputs portion. Finally, go to the Ports & Outputs area, select and make sure the Sound and Display settings are correct. Whenever you use headphones or an earbud or a microphone, audio is normally going in (e.g., Blue Yeti). If you’d trying to record video directly from the camera, use your capture device’s device name. If your sound card is working, you’re ready to go.
Switch on HD (720p) if you have a good upload speed (5Mbps or better) better
Confirm that the video capture system is what your machine thinks is the source of the video since that is what it seems on the equipment. So, in our scenario, that would be the CAM-Link 4K.
You’re all done! You can further personalize settings here, but your video calls should work as they do with a properly calibrated webcam. Depending on your needs, you might want to also adjust your manual emphasis.
After completing all steps, finally you can use your camcorder as a webcam.
Suggestions & Troubleshooting
A common issue with HDMI cables:
Sending a warning to your camera app that you aren’t getting a signal? Also, see if you have a compatible cable and/adapter on hand to try switching with the current model. A small HDMI to HDMI cable and a standard HDMI cable worked in our experiment, but in our real-world trials, we had difficulties getting the Cam Link 4K to recognize our Canon 60D camera.
The output settings of your camera/camcorder can prevent signal detection:
If you use software such as Elgato’s Game Capture, you can see if your digital camera is transmitting the signal. If not, check your camera’s settings to ensure that the performance is consistent with your computer (720p or 1080p at 30 fps are your safest bets).
Set up your manual settings:
For most people, auto-focus and auto-settings would do the trick. But, for a greater look, your camera will need to have manual settings for both the lens and the ISO/aperture.
If you raise the ISO to a higher setting, the picture will be brighter yet grainier.
Decreasing the aperture often does the same thing: it increases the amount of light that goes through the lens. If you lower the f-stop, less of the context will be in sight.
There are circumstances in which aperture, ISO, and light sources must be balanced with your camera setting. You’ll have to try each of these settings before you get the shot you want.
Conclusion:
This is the normal procedure. However, keep in mind the camcorder does not have an audio jack. though still proceeding.
You can also consult the camcorder manufacturer for guidance about how to use your camcorder as a webcam. The world of digital technology keeps changing, particularly when it comes to capturing space.
Related Post: How To Connect Bluetooth Selfie Stick To Android?